You are using an out of date browser. It may not display this or other websites correctly.
You should upgrade or use an alternative browser.
You should upgrade or use an alternative browser.
Absolutely Gutted!!
- Thread starter martings
- Start date
the grim reeper
A2OC Donor
Its all starting to take shape, when its all done someone should get all the photos and make a slide show
Cheers Phil
Cheers Phil
a bit of an update again
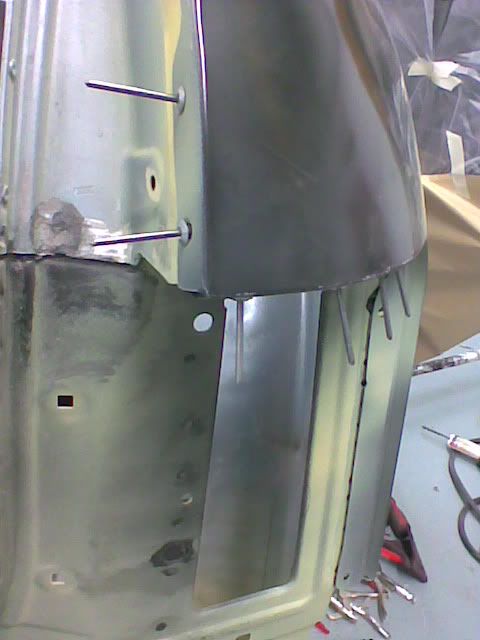
so the new panel is clamped on
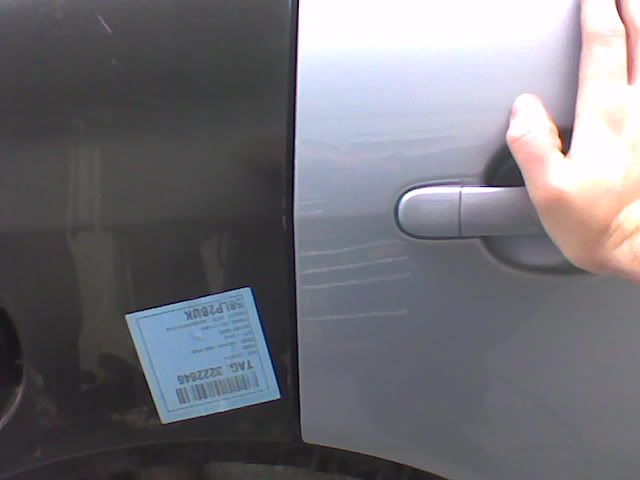
door gap checked
boot bolted back on and gap checked
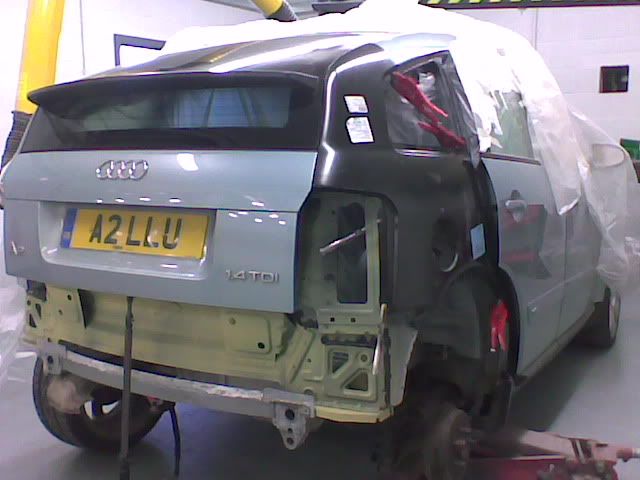
light gap checked
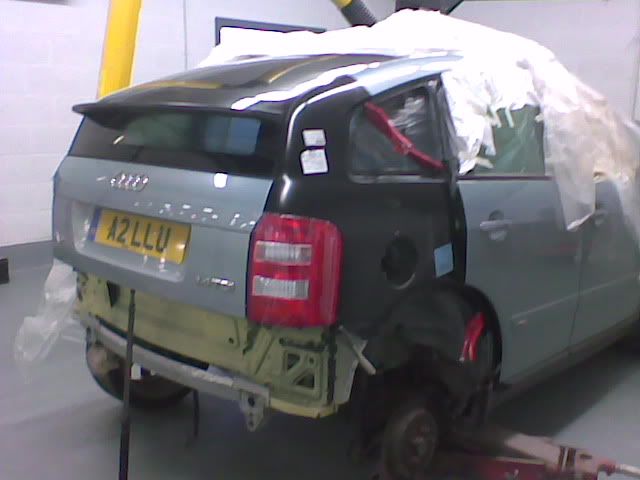
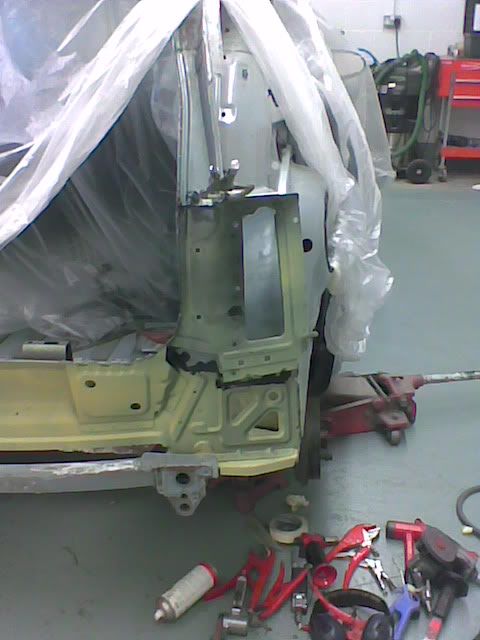
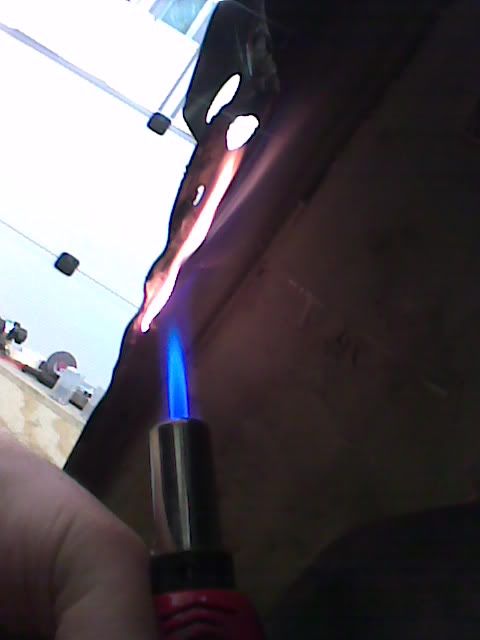
inner wing was still in slightly so heated up and planished into the right place
FIIIIIRRRRRRRREEEEEEEEEEE!!!!!! lol
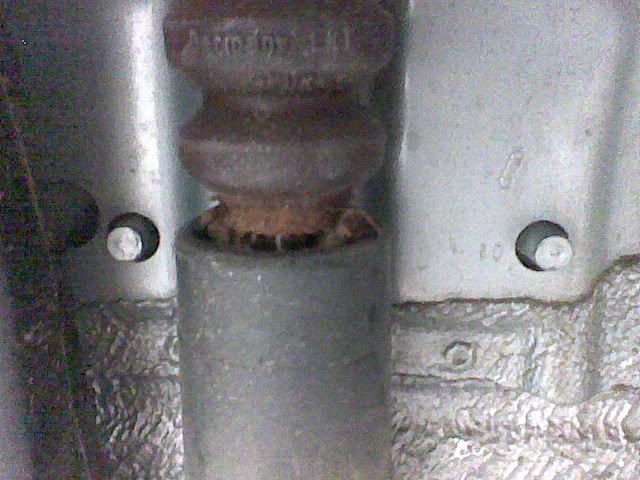
oh and whilst it was up in the air i notised the bump stop is a bit worn, so you might want to check the others and change them if ness
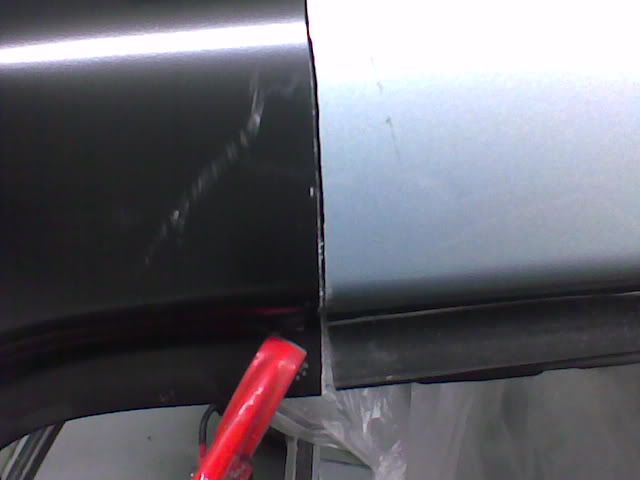
anyway, once i knew the panel was in the right place i started chopping, basically i cut through both overlapped panels and you get the below pic (then i will have a plate behind, you will see later on in the process)
so the new panel is clamped on
door gap checked
boot bolted back on and gap checked
light gap checked
inner wing was still in slightly so heated up and planished into the right place
FIIIIIRRRRRRRREEEEEEEEEEE!!!!!! lol
oh and whilst it was up in the air i notised the bump stop is a bit worn, so you might want to check the others and change them if ness
anyway, once i knew the panel was in the right place i started chopping, basically i cut through both overlapped panels and you get the below pic (then i will have a plate behind, you will see later on in the process)
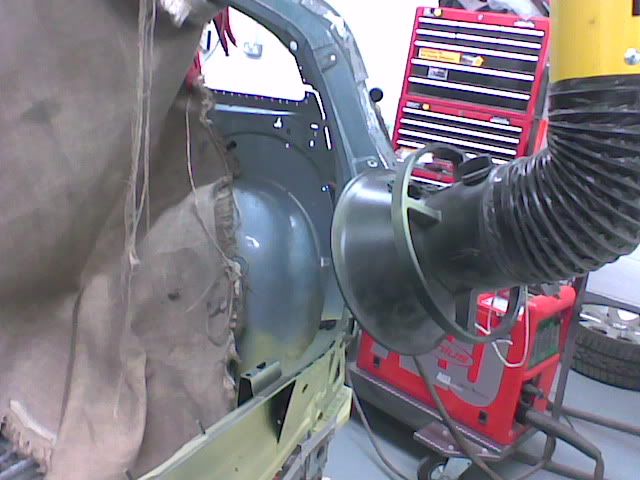
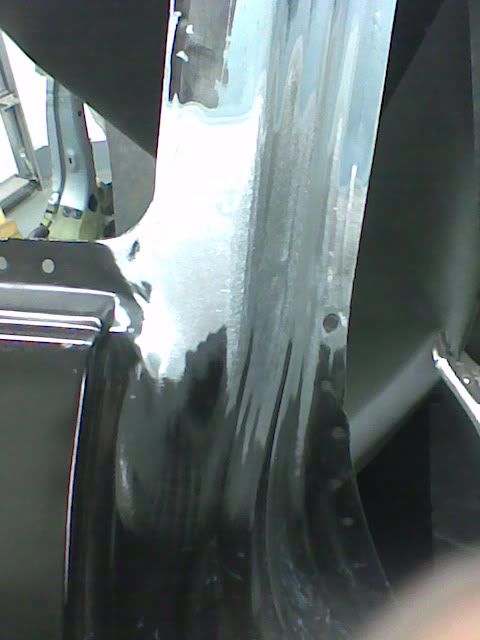
1/4 taken back off and before i do anything to that i did a bit of welding so out comes the big hoover and welding blanket
this was a small split and i have cut it slightly thicker so i can weld it propperly, and its double skinned so no need for a plate
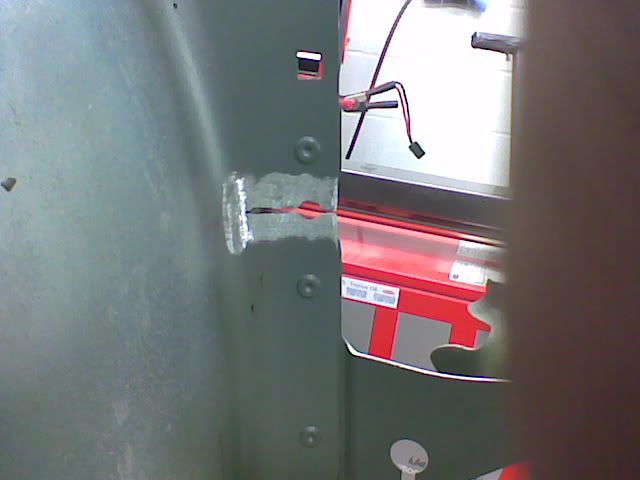
welded and ground down
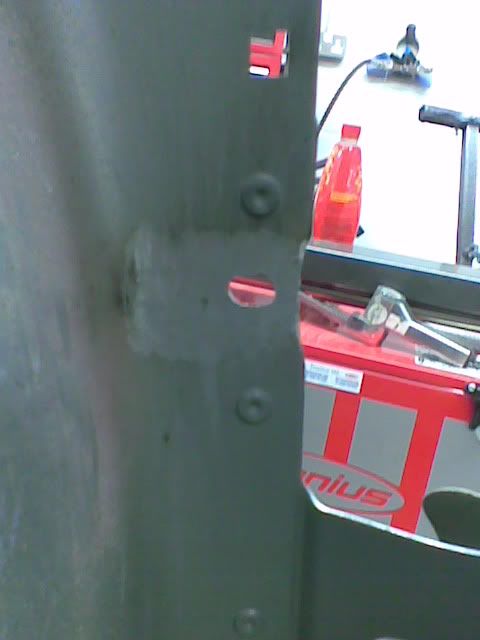
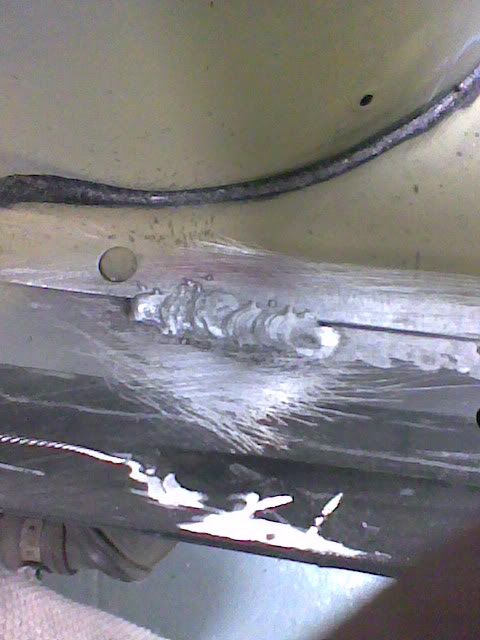
and i welded the plate in whilst the welder was out, and its not the best looking weld in the work i will admit, but it will defo do the job (very hard to weld ally with a mig welder, much easier with a tig but audi wont let you do that, its not in there approved ways )
)
so thats your lot for today, 1/4 will be fitted tomorrow as it is cleaned up and i have allready made the plates for it
this was a small split and i have cut it slightly thicker so i can weld it propperly, and its double skinned so no need for a plate
welded and ground down
and i welded the plate in whilst the welder was out, and its not the best looking weld in the work i will admit, but it will defo do the job (very hard to weld ally with a mig welder, much easier with a tig but audi wont let you do that, its not in there approved ways
)
so thats your lot for today, 1/4 will be fitted tomorrow as it is cleaned up and i have allready made the plates for it
i dont know if it is on the jobcard, and i have to say that i havent seen it myself, allthough the lower part of the bootlid is made of plastic so i doubt it would have dented, i will look into it for you if i remember lol.
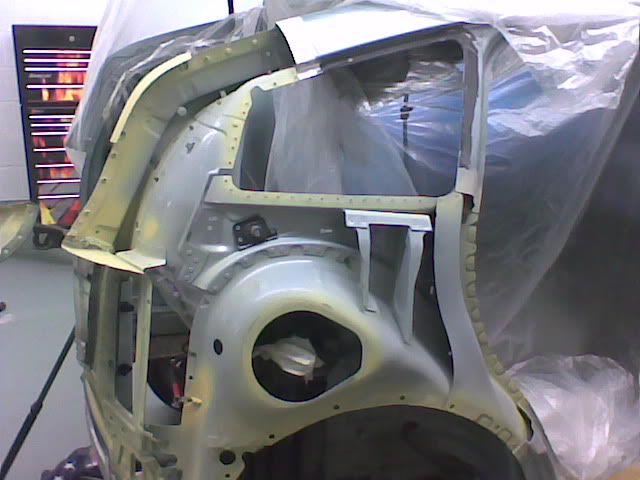
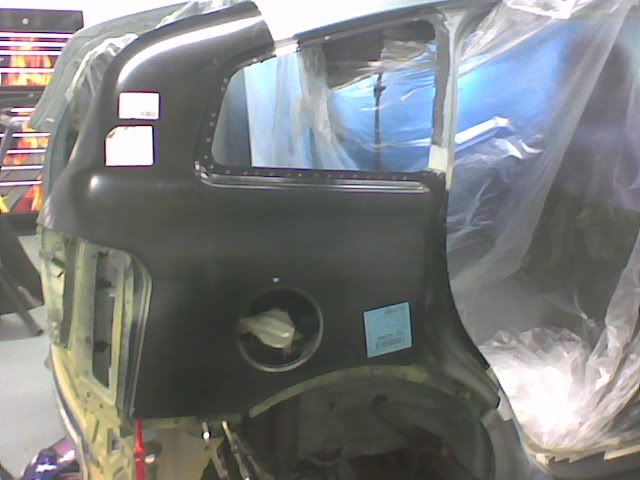
heres some more progress pics
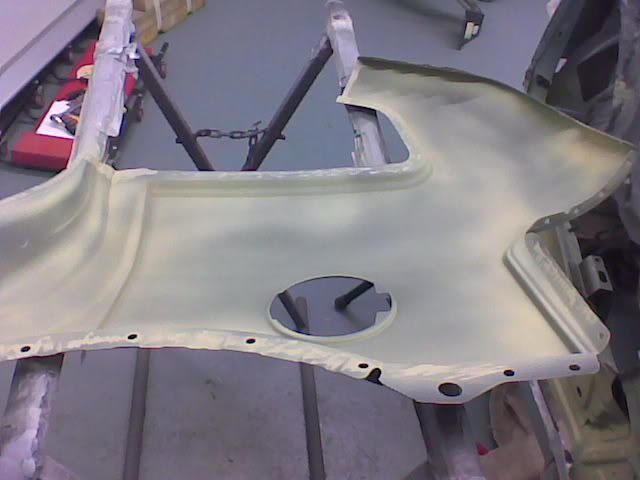
new panel is drilled and countersunk along the bootlid edge and the upper part of the lamp panel, due to not being able to get to both sides of the panel with the rivvet tool.
then the same is done with the joining panel on the car so the panel fits flush and so the rivvets sit as flush as possible
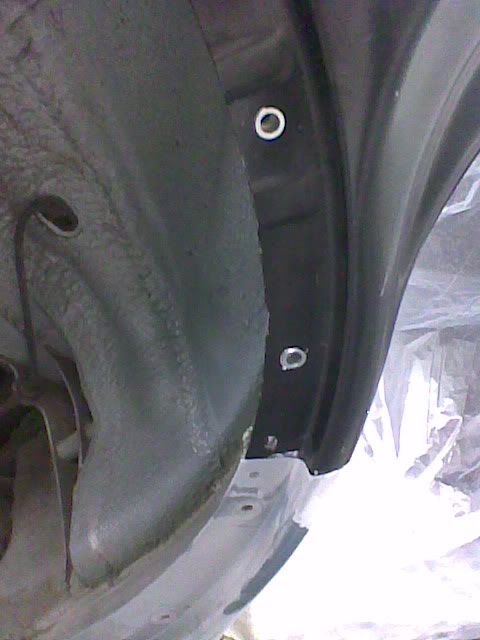
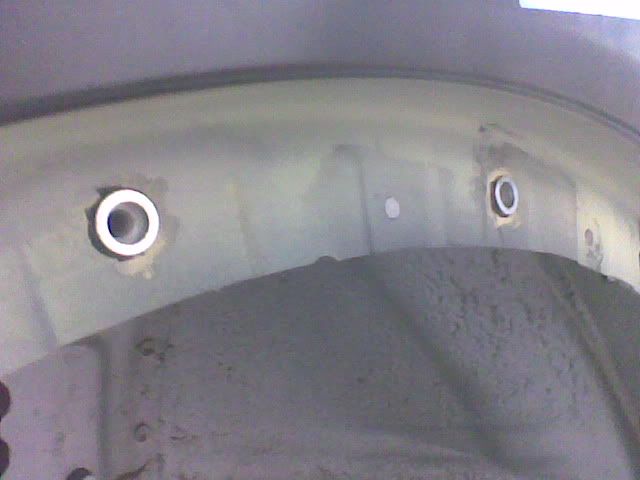
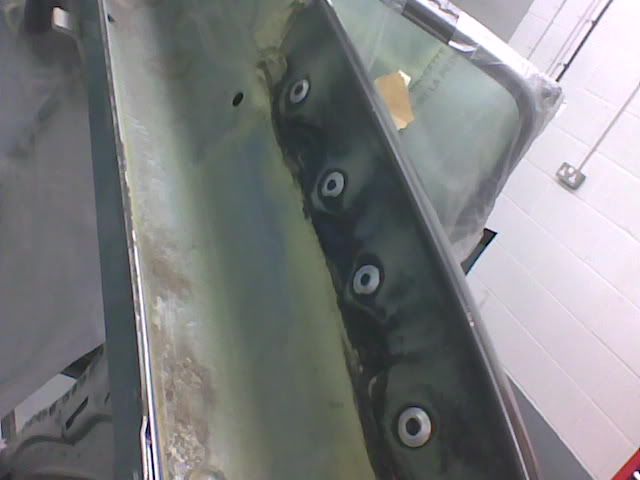
then i had to measure and drill holes (panels dont come with any pre drilled holes) where the bracket for the wheel arches go, as these have riv nuts in(picture shows riv nuts in place)
cleaned up scotched and etch primed
prepped and primed new panel
loadsa bond
plates bonded in ready for welding
heres some more progress pics
new panel is drilled and countersunk along the bootlid edge and the upper part of the lamp panel, due to not being able to get to both sides of the panel with the rivvet tool.
then the same is done with the joining panel on the car so the panel fits flush and so the rivvets sit as flush as possible
then i had to measure and drill holes (panels dont come with any pre drilled holes) where the bracket for the wheel arches go, as these have riv nuts in(picture shows riv nuts in place)
cleaned up scotched and etch primed
prepped and primed new panel
loadsa bond
plates bonded in ready for welding
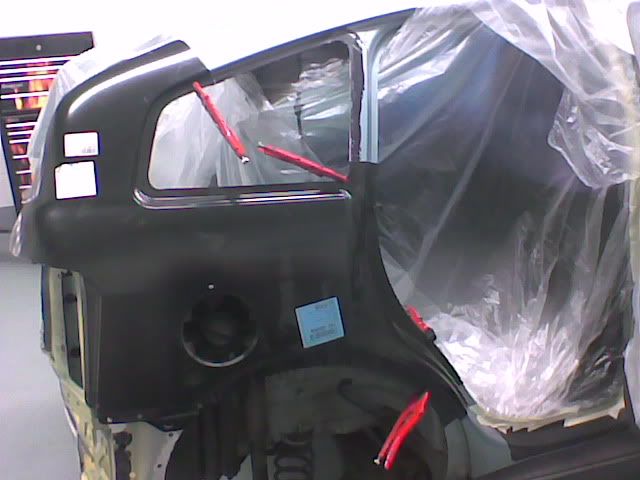
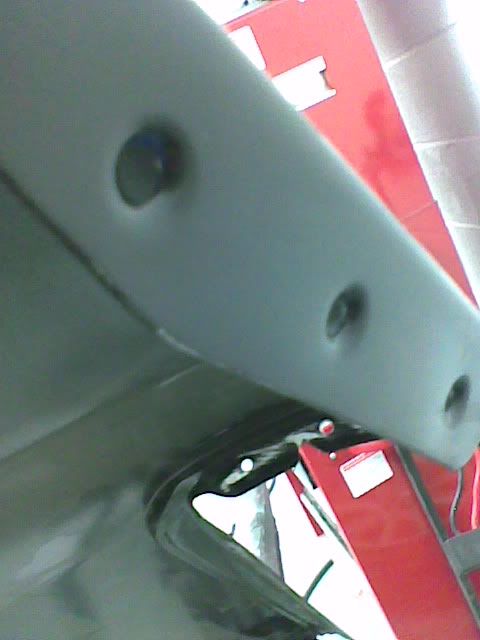
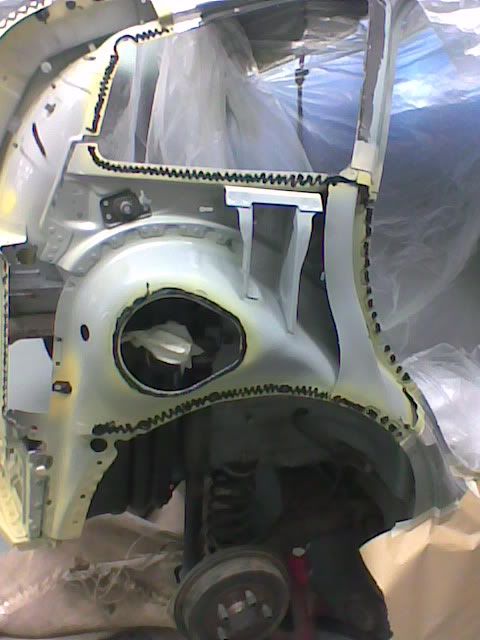
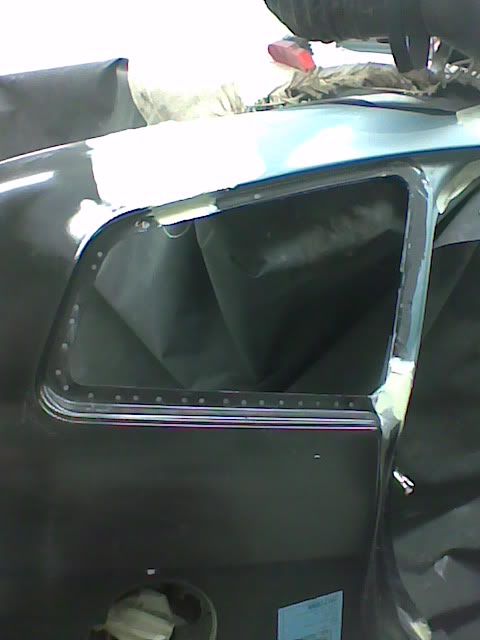
panel placed on and rivvets put in place(looks like hellraiser lol)
picture of the panel fully rivveted on
rivvets around the window
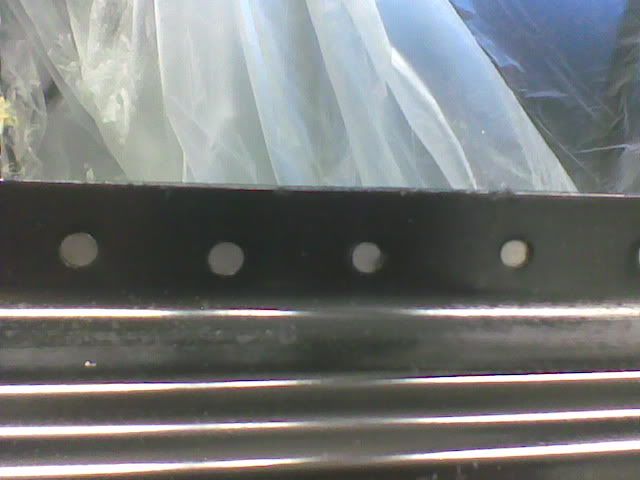
rivvets and riv nuts around the wheel arch
around the lamp panel
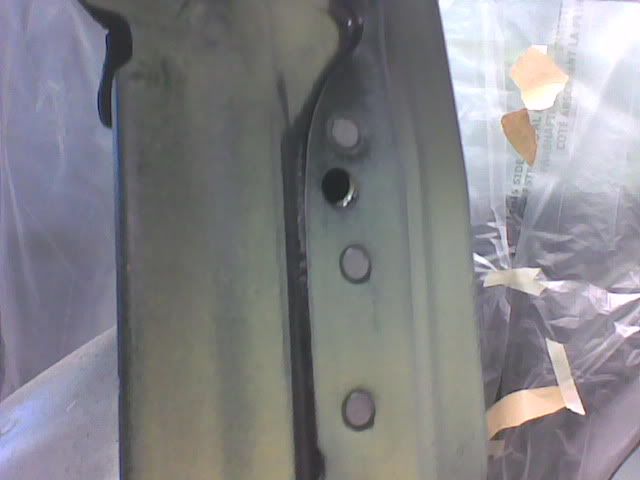
and these are the ones that are sunk into the metal, they wil need sanding down slightly
picture of the panel fully rivveted on
rivvets around the window
rivvets and riv nuts around the wheel arch
around the lamp panel
and these are the ones that are sunk into the metal, they wil need sanding down slightly
another update
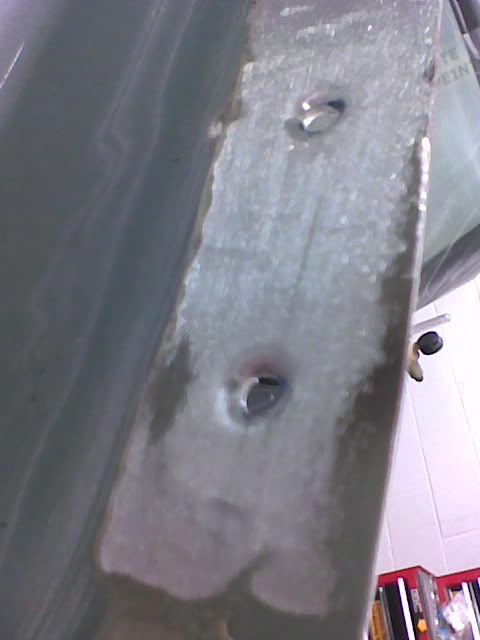
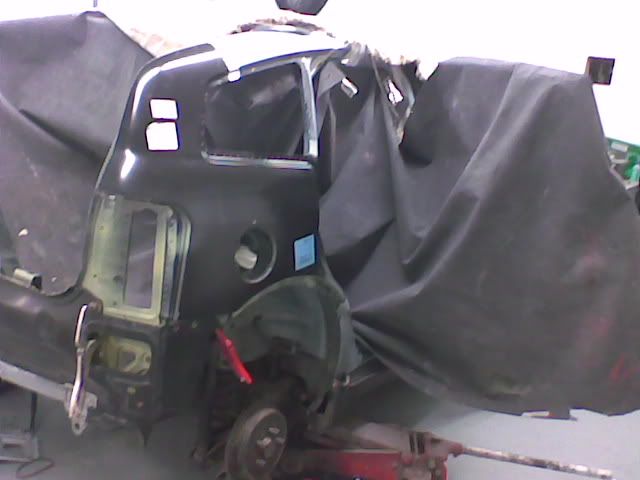
car sheeted up for welding
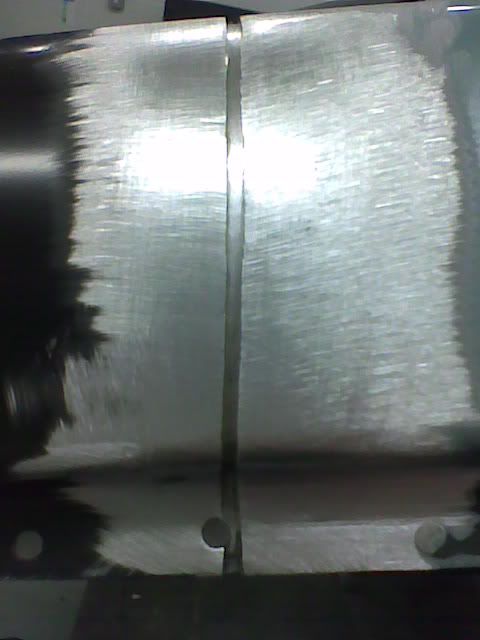
gap shown with plate showing underneith
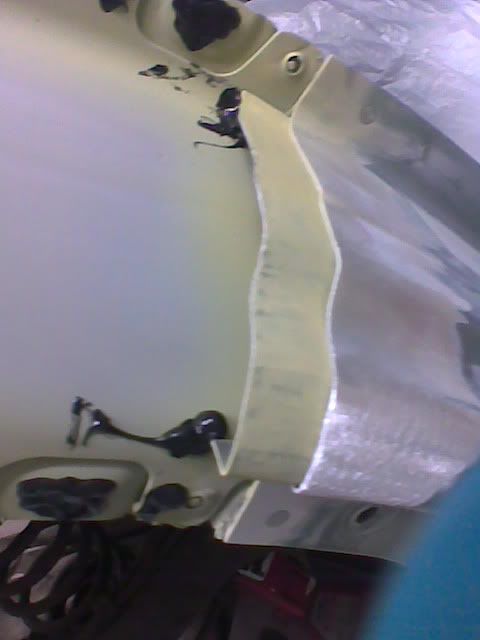
welded and grounded down the 3 joints
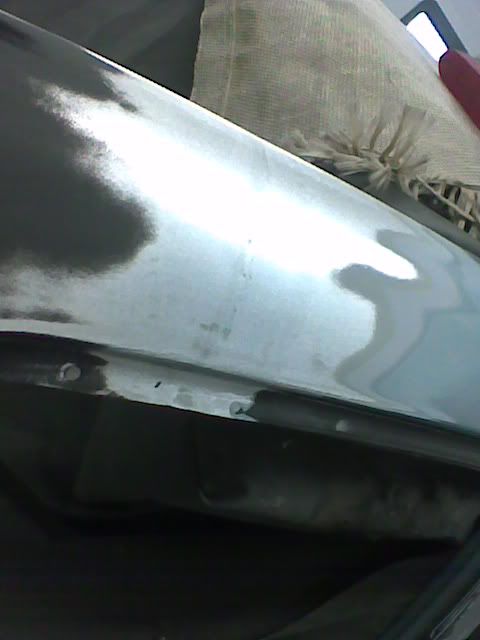
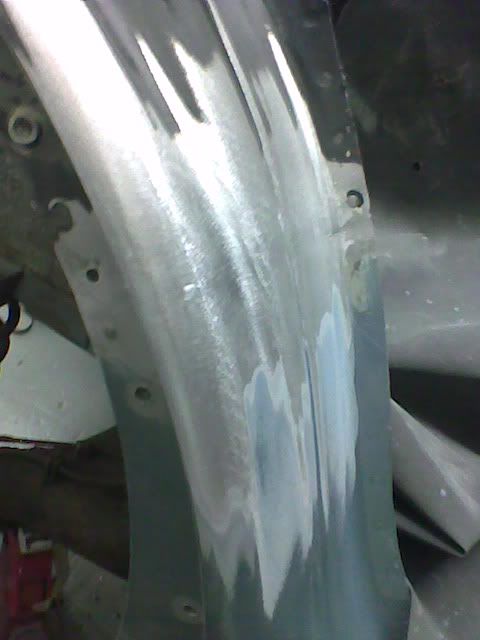
and a tiny bit of filler to get rid of a few small marks
and the filler is rubbed down now, i am just waiting for 100 rivvets!!!!! as thats how many hold the other back panel in place!!!!
hopefully they will be here tomorrow, as audi dont keep tem in stock, well not that many anyway lol
car sheeted up for welding
gap shown with plate showing underneith
welded and grounded down the 3 joints
and a tiny bit of filler to get rid of a few small marks
and the filler is rubbed down now, i am just waiting for 100 rivvets!!!!! as thats how many hold the other back panel in place!!!!
hopefully they will be here tomorrow, as audi dont keep tem in stock, well not that many anyway lol
John H
Member
Now I see why Audi was so eager to stop making our car. So much rivets and glue!
Indeed, and the more I see of this thread, the more I understand why Audi has not followed on with another A2. Most car production is done by robots these days, which allows economy of manufacture, and hence higher profit margins. From the pictures and descriptions in the thread it is obvious that the A2 must have been VERY labour intensive to manufacture (highly skilled labour at that) so I now understand why it was so expensive, and was probably never very profitable. Fascinating thread, and highly educational too.